Replacing Soles in Toms

Hopefully you’re like me and you have a pair of Toms.  Lovely, wonderful, Toms.  Toms are these great shoes and I wear them everywhere.

Image

Traveling on an airplane (emergency exit row, score!)

Image

At a Brewer’s game.

Image

Getting my hair done the day of my wedding.

Image

And hiking to the top of the Mayan Pyramids in Belize.

I love these shoes!  They’re comfortable light weight, and super cute.

The problem is, with all this wear and love, they can get a little worn and a little gross (and by gross I mean they are dirty and smell funky enough to make my dog rip the soles out of them).

It was a terrible day the day my husband called to tell me that the dog had chewed the leather soles out of my shoes.

“Which shoes?! My black ones?!”

“No… the red ones.”

“Nooooooooo!”

I thought they were ruined.  I was so upset.  I couldn’t bring myself to throw the shoes away hoping I could find replacement soles out there.  I looked and looked, but the internet let me down.  An alternative was needed.

Now, this whole “dog chewing out my soles” thing happened about 9 months ago and I’m at the point where I need to replace the soles again (which is what’s so great about this!  You can replace them any time you need!).  So the old soles you see here are the first replacements after my dog ruined the original leather ones.

Image

First what you need to do is rip the old soles out if your dog hasn’t already…. (I’m not bitter, I promise).

Image

Next, since your shoes are probably smelly and gross (which is why you’re doing this to begin with) you need to wash them.

IMG_4962

Make sure it’s cold water and DO NOT put them in the dryer!  The heat from the dryer wont be good for the glue holding the shoe to the sole.  Let them air dry.

Next step is to create the new soles that will go into your shoes.  To do that you need to scamper off to the craft store and pick yourself up a sheet of this:

IMG_4963

It’s a sheet of craft foam with an adhesive side.   They’re about 50 cents a sheet which makes this a super economical way to fix your shoes.

Lay your old soles out on top of the foam, trace, and cut out the soles.

IMG_4964

IMG_4965

You can either go out and buy some fabric or, like me, use some extra scrap fabric you have lying around.

Peel the paper off the adhesive side of the new sole and stick to the wrong side of the fabric you chose.

IMG_4967

IMG_4968

Trim the excess fabric.

IMG_4970

So cute!  Much more fun than the old leather soles anyways!

Next, I used my sewing machine to go around the edge of the sole to make sure it is going to hold until my shoes become all gross and funky again.

IMG_4972

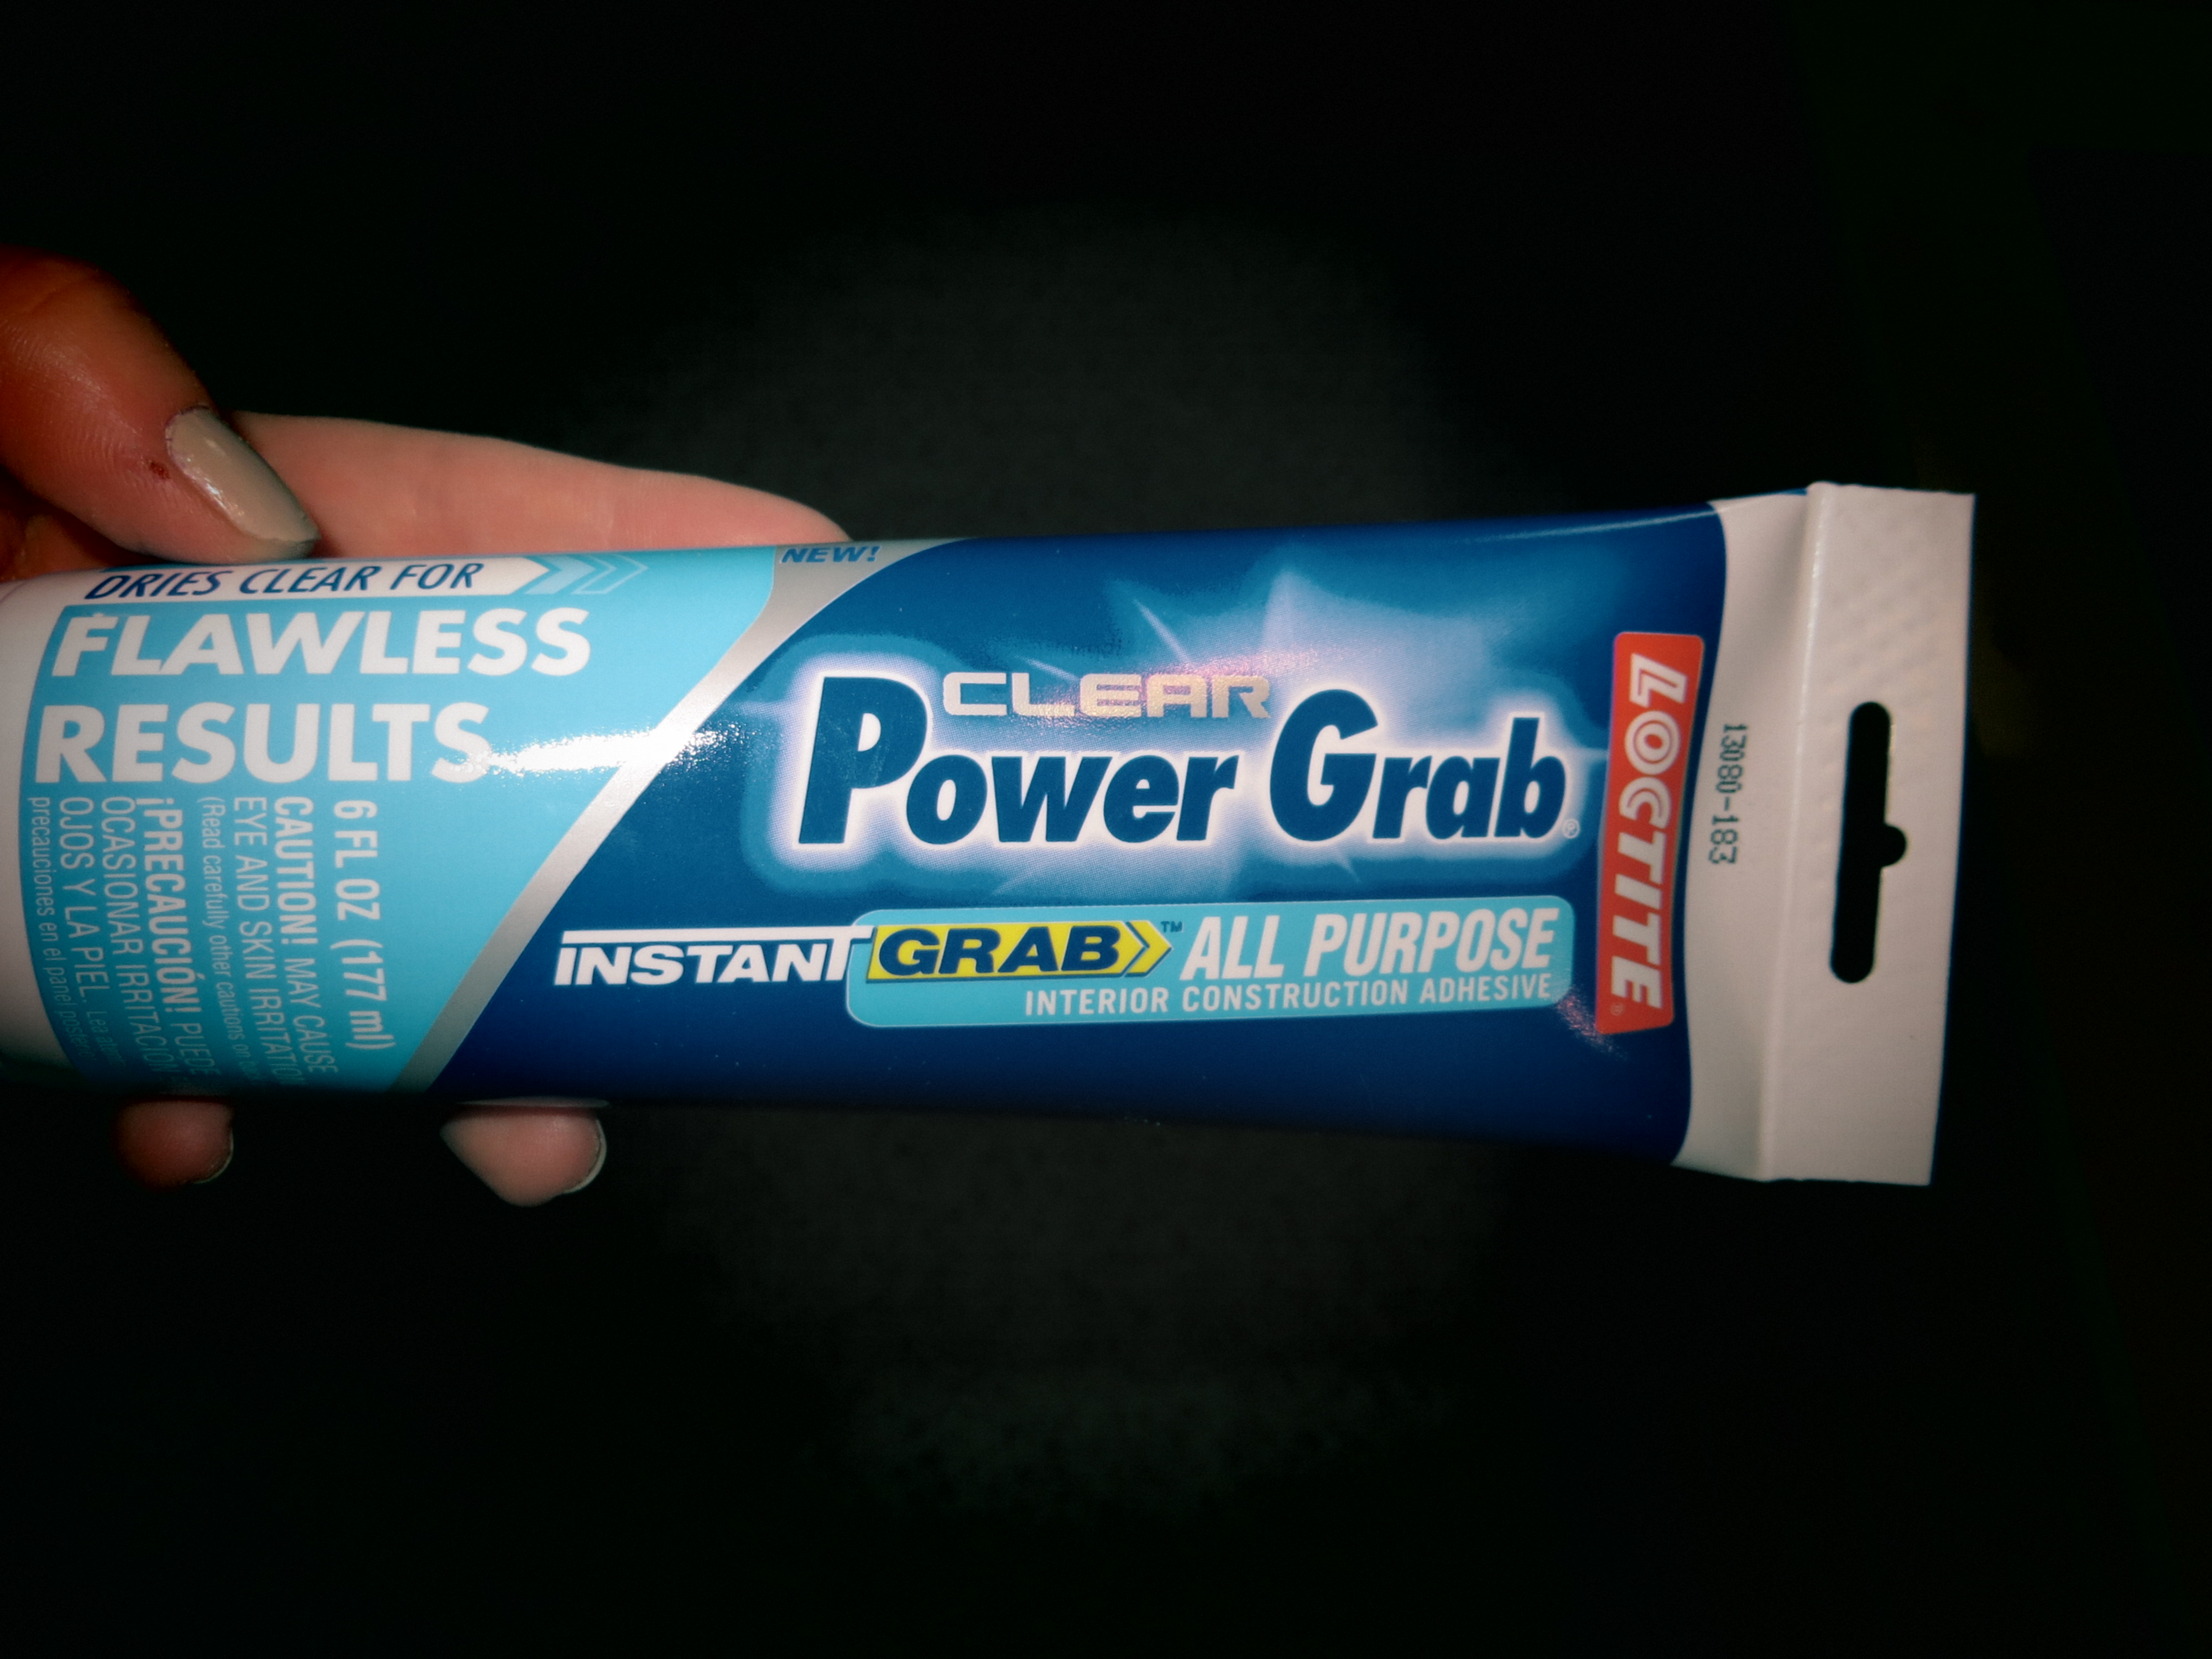
Once you’ve got your soles prepped and your Toms are washed and (air) dried you can put the two together.  Use a glue that’s stong and has got some heft behind it.  If you use something like Elmer’s Glue it probably wont hold very long.  I used Goop Glue.

IMG_4973

DO NOT put glue all over the bottom of the sole!  If you do this you’ll never be able to get it off the shoe again.  All you need is a small dab at the heel and the toe.  This will be more than enough to hold the sole in place.

IMG_4974

That’s it!  You’re done!  Now you have a cute and revived pair of shoes that smells like shoes are supposed to smell when you’re not a hobo.

IMG_4976

Blue & Orange Baby Blanket

Hello Everyone!  It’s been a bit, but it is summer and with that I’ve been busy, like the rest of you, running around, visiting friends, spending endless hours in the car, and all those great summer activites.  I thought I’d take a second to sign on and share my latest sewing project with you all.

I started this quilt a loooong time ago.  Probably back in February.  It’s been sitting in my craft room since then with half the binding sewn on.  I’ve lately lit a fire under myself to get it together and finish it up.  Here are the results.

ImageImageImageImageImage


I really love this quilt.  I love the colors and how bright and fun they are.  Really perfect for a little boy I think.  I also love the binding and the rick-rack that frames the quilt.  It really gives it a nice finishing touch and some great visual interest. 


I’ve recently started a shop on Etsy.  If you’re interested in this quilt you can check it out here. 

Blue & Orange Baby Quilt -at- TheOwleryShop

Canvasing My Wall: A Flower Painting

I’m sure you can relate…

You get up in the morning to get ready for work, school, taking care of kids… whatever it is that fills your days.  You spend anywhere from a moderate to a considerable amount of time in front of the bathroom mirror. 

I’m right there with you.  I spend probably a half hour or more a day looking at my own mug in the mirror. 

Opposite our mirror in our bathroom is a blank wall.  A blank, tan, wall with an orange peel finish. *yawn*

Day after day this is pretty boring to have reflected over your should while you spritz your hair and oh so carefully apply your mascara.  Guys are (probably) excluded from this last part but you get my point. 

I’m an okay painter and I decided to utilize this skill the to give that bathroom wall a little something-something. 

Since this is reflecting in the mirror we use to get ready I didn’t want something too big or overpowering so I went with a long, narrow canvas that I picked up at Michael’s.

First I painted the background a pale robin’s egg blue color.  Once it dried I dappled a tan color on top to give it some depth.  (Notes:  I used acrylic paint for this painting.)

Image

Now comes the flowers.  I stuck to browns, blues, and golds to keep with the theme of the colors in my bathrrom. 

I took each color and made uneven/funny shaped cirlces across the canvas.  I also used lighter and darker versions of these colors to shade in the circles to give them depth.   Generally I painted the whole circle one color then used the dark color in an upper corner and the lighter color down in the opposite corner to give it dimension and the illusion that a light is shining on it.  Image

Once this is done I added a dark brown cirlce (on most flowers) as the flower’s center.   I also used some of the darker or lighter shades around the dot to add even more dimension.

Image

There is no exact science to where to add the darker or lighter colors.  It’s more of a feel of what looks right.  It’s your art.  Do what makes you happy. 

Now that it’s all shaded I wanted to give it some definition to make the flowers pop.  To do this I used a very tiny brush and dark brown paint.  Using this I went around each flower and outlined it.  I also went inside some of the flowers to add the look of petals or a bell shaped flower.

Image

Final step… make them not look like gravity defying, floating, flowers.  I used the smal small brush and dark paint and created stems.  Basically I painted a thin line coming from each flower and had them drop off to places unknown at the bottom of the canvas. 

Technically,  There is one extra stem than there are flowers, but, I don’t care.  I added an extra one because I thought it looked better with that space filled, and really, that’s what art is all about. It’s about looking pretty and being what you want. 

All said and done I’m really pleased with how it turned out.  It’s beautiful, simple, and really adds much need visual interest to a previously boring wall. ImageImage

(Please ignore my towels which were hastily hung with no care at all.)

The $10 End Table

This post has been a long time coming.  Some of you may remember a month ago when I post this blog showing off the end table and footstool I got for $10 and $5, respectively, at a thrift store.  I finished the footstool in about a day and a half but the end table took much longer.  In part because it’s a more time consuming project and in part because I’m prone to bouts of procrastination. 

I bought this table specifically for our bathroom.  This may sound strange but my reasoning is sound.  We have a pretty small bathroom with almost no storage.  My idea is to put this in the corner of the bathroom with some baskets on the shelves for a little added storage as well as it adding some visual interest to an otherwise simple room. 

I decided to stain this table to match the other wood in the bathroom.  The stain was really old and came off pretty easily.  I used a combination of an electric sander (I’d recommend an orbital sander) and hand sanding. 

Image


This is definitely an OUTSIDE activity.  You should also plan on taking a shower immediately after.  There is tons of dusty and it gets everywhere and covers everything.

Image


For the top of the table I decided to tile it with the leftover tile we used behind the mirror in our bathroom.  

To hold the tile down you could use motor.  However, every time I’ve tiled (things that aren’t a floor) I’ve used these adhesive strips.  They usually come in 12×12 squares or in rolls and they are so awesome. 

Image


You just peel the back side and stick to whatever you’re adding tile to, in this case a table. 

Image

Then when you’re ready to add the tile you peel the other side, press tile on, and you’re ready to grout. 

Image


After this I was ready to grout.  Step 1… figure out where the husband put the float after he last used it.  This was a 20 minuet project but I eventually found it in the most logical place possible.

Image

I used a non-sanded grout.  When you’re mixing, Start with just a little, little bit of water.  I can’t stress this enough.  You can ALWAYS add more water if you need it but adding more grout because there is too much water is a pain and you end up with way more grout than what you need. 

Image


When you’re grouting make sure to hold the grout at 45 degrees and press the grout firmly into the tile.  Make sure you take your time here.  Going too fast and rushing it will cause there to not be enough grout in between the tile and it will crack as it dries.

Image


I let this dry for about a day before I started staining the table. 


I used an oil based stain in a darker color.  Not only does the dark color match the wood that’s currently in my bathroom but it also hides and imperfections on the table from being sanded down and any leftover stain.

Image


I did three coats of stain letting each dry fully before applying the next. 

Image


Once all the stain is on and dried it’s time to give it a nice coat of poly to protect it and give it a nice shine.  

I gave it two coats of poly to start.  Once you have these coats down you can start sanding.  Basically I used a pattern like this:

Poly, poly, sand, poly, sand, poly

Using this method you get a nice, smooth, finish. 

Image

I used a sandpaper with a 150 grit and sanded in circular motions.


After I sanded I had to get all the dust off before I could poly again.  To do that I needed a tack cloth.  There are the disposable kind which I don’t like because they’re sticky and I think they leave a residue so I use a reusable kind.

Image

What’s nice about this is you can wash it and when you’re not crafting away you can use it as a dust rag around your house. 


When I was all finished with the sanding and polying and I had a nice, smooth finish I was ready to bring it up to the bathroom, get some baskets, and enjoy the nice, new, piece I have that’s both beautiful and functional. 

ImageImageImageImage


Honey Oatmeal Chocolate Chip Cookies

I don’t know how many of you are out there like me but once in a while I just get in the mood to bake.  Bake for myself.  Bake for people at work.  Bake for friends.  Whatever.  I just want to bust out that spatula and those measuring cups and get to baking.

I found a great recipe on Pinterest that I thought I’d share with you all.  It’s really quick, and easy, and REALLY delicious!  Here is the link to the recipe: http://www.a-kitchen-addiction.com/chocolate-chip-honey-oatmeal-cookies/

One thing I changed was to make the recipe gluten-free, which was really easy to do.  Just subbed out an all-purpose gluten-free flour for regular flour and steel-cut oats for regular oatmeal.  The original recipe calls for quick oats, but I used regular oatmeal and it worked just fine.

Get all the ingredients mixed together and then take a moment to collect your self resolve that you wont eat all the cookie dough right then and there.

Image

These cookies are very soft when they first come out of the oven.  I found it was helpful to cook them on parchment paper.  It helps them cook a lot more evenly.  I didn’t the first time I baked these and I could tell the difference.

Image

I used my Pampered Chef scoop to dole out the cookie dough onto the sheet.  This little gadget is awesome for getting consistency with the size of your cookies (or truffles, or meatballs, or any sphere shaped food).

Image

Once they’re all on the sheet I baked for about 13 minuets.  The recipe says bake for 8-10, but I just didn’t find this to be long enough.  I wanted the tops to just be browning.

Image

The recipe says that they will be super soft and seem undone when you first take them out, which is very true.  I let them sit on a cooling rack for about 10-15 minuets and they do get more firm and are done enough to eat.  Don’t over bake them or they lose a lot of their soft, gooey, goodness.

ImageImage

Mirror, Mirror, NOT on the Wall.

Look familiar?

Image

The cheap, full length mirror that most of us have that you can find at any chain store across the country. Granted, normally mine is not sitting by the door to garage but rather it’s sitting in my room, on top of an old shoe box, leaning up against the wall at an odd angle that makes me question the reflection I see.

This does NOT fit into my mission of making my home more pretty and homey looking. To do?

What I decided to do was take advantage of the many tutorials I saw out there on Pinterest to upgrade your simple full length mirror into something that you would actually be proud to show to people.

First step was a trip to Lowes. There I picked up some trim of various sizes, a wooden decoration/embellishment, and a board to put the mirror on. I laid everything out and got the trim cut up to the right lengths.

Image

(My dog loves to hang out while I craft.)

Now that I had everything looking the way I wanted it to it needed to be tacked down. For this I had gotten some all purpose, instant grab caulking. I got the kind in the squeeze tube that you don’t need a caulking gun to use.

Image

This stuff is awesooooome! It really does instantly “grab” what you’re gluing. I applied small pieces of trim to the sides of the board at the top of the whole set up to give it a more finished look (see pictures below).

I applied this adhesive to the pieces and held them tightly to the board for about 20 seconds (just to be sure).

Image

I let go and the piece stayed put. I was waiting for it to slip and slide away from where I put it (since I applied it with the board laying flat like the picture above) but it never happened.

I also used some wood filler here to fill any small gaps. (Here you can see the small pieces of trim held in place by the adhesive.) Image

Use the adhesive on everything and press it down so you get a good bond. Let everything sit this way overnight.

The next day, when everything is nice and dried and bonded together, I started painting. I covered the mirror with some newspaper (which I just now noticed has a rather controversial headline) and gave the whole thing a once over with primer (I used gray because I felt it would provide a better base for the blue I was using). I also didn’t worry about getting a really uniform or heavy finish. I just wanted to get a light coat down to help out with the paint that I used.

Image

I didn’t paint the whole back since you will never really see it. I did paint about 6-8 inches in on either side though just so you are sure not to see any raw spots if you looked at the finished mirror from the side.

Once it’s primed, paint with your choice of color. I used a blue spray paint, but you could use a quart of paint and a brush if you wanted to. I ended up using a can of primer and 1 1/2 cans of spray paint.

Once it was done I hauled it back up to “my” room (the room where my closet is and where I get ready in the morning) and leaned it up against the wall. I think it turned out really nice and gives a lot better visual “pop” than the mirror did by itself.

ImageImage

Asian Stir Fry

Stir fry is one of my favorite recipes to make.  It’s flavorful, healthy, delicious, and makes great left overs.  The only “downfall” to this recipe is the somewhat time consuming prep-work that goes into it.  The veggies and sauce could all be prepped ahead of time and in my opinion, it’s a totally fair trade off.  This stir fry is just too delicious.

There are lot of combinations that people can use to create this dish.  My personal favorite, and what I did here, was a mix of vegetables, rice, and either shrimp or chicken (this time I used shrimp).

I always make the rice first because it takes about as long to cook as it does to prep all the veggies.

I should preface this with the fact that I am HORRIBLE at making rice. Horrible.  For how much I cook, I can’t make rice to save my life.  It’s a never ending battle of too much rice or too much water and then, inevitably, searing a layer of rice up to a 1/4″ thick to the bottom of the pan.

Solution.  Get myself an awesome mother-in-law (who obviously pitied her son and me both and decided to save us from ourselves) who got me a rice cooker for Christmas.  If you don’t have a MIL like this, I highly suggest getting one.  I use my rice cooker at least once a week.  It makes rice in about 20 minuets and it always comes out perfect.

I always use Jasmine rice. Soooo good.  If you haven’t tried it, it’s very much worth the few extra dollars it costs. But back to the recipe….

Get the rice going in the rice cooker.  I used 2 cups rice (not instant) and 2 cups water.  Once it was done I added about 4 tablespoons of rice vinegar.

Image

While the rice is cooking I browned the shrimp.

Image

Once cooked set the shrimp aside.

I also wanted to get the sauce prepped so that it can sit for a while, allowing everything to mix, before I add it to the veggies.  The sauce consists of soy-sauce, rice vinegar, honey, garlic, and some Cayenne pepper.  Finely chop the garlic (I used the food processor) and combine all ingredients and let sit.

Image

NOW… the veggies.  My usual participants in this recipe are as follows: white onion, green onion, carrots, purple cabbage, peas, and broccoli (however, I was out of broccoli today so this player was absent).

Take all ingredients, more or less depending on how much you like them (or add and take away veggies as you see fit!) and finely chop them.

Add some olive oil to a big pan (times like this I wish I had a wok) and cook on medium heat until all the veggies are tender.

Image

This takes about 5-8 minuets.

Next I added back the shrimp and I also added half a lemon (cut into 8ths) to the pan.

Image

Now, I don’t squeeze the lemon, but I do “stir at them” rather vigorusly.  I try to get just a hint of the lemon flavor into the mix.  I cook everthing like this, stirring often, for about another five minuets.  I then removed the pieces of lemon and tossed them.

At this point I turn the burner to low and add the rice to the veggies.  Stir the two together until evenly mixed then add the sauce.  It will be very runny and you’ll wonder what the heck happened… this doesn’t look right at all!  Never fear!  There is a cure to your runny sauce woes!  Add approximately 2-3 tsps of cornstarch (you can see I was not very percise about it….  I just add until it “looks right”).

Image

Stir the cornstartch in and you’ll immediately see everything start to take a much nicer shape.

An alternative to this is to leave the rice out and add the sauce right to the veggies.  Then you can serve the sauce and veggies over the top of the rice vs. having it all mixed.

Before serving garnish with sesame seed and there you are!  A delicious dish!  With the two cups of rice, shrimp, and veggies it made enough for both me and my husband to have a big serving at dinner and enough for two, smaller, lunch sized leftovers.

ImageImageImage

Recipe:

Ingredients:

  • 2 cups rice
  • 2 cups water
  • 4-5 tablespoons rice vinegar
  • 1/2 c. peas
  • 2 carrots, peeled and finely cut
  • 9 pcs. green onion, chopped
  • 1/2 c. white onion, chopped
  • 3 leaves purple cabbage, chopped
  • 1/2 lemon
  • Shrimp
  • Sesame seeds

Sauce:

  • 3 tablespoons soy sauce
  • 2 tablespoons rice vinegar
  • 2 tablespoons honey
  • 2-3 cloves garlic, finely chopped
  • Dash of Cayenne pepper (optional)

Homemade Spinach Pasta

I love using my time on weekends to cook things that I normally wouldn’t otherwise.  Saturday I had a real hankering to make homemade pasta.  The problem was that Saturday morning my husband and I went to the farmer’s market and then went and had a big brunch at Perkins.  This being the case we knew we wouldn’t be very hungry for a big pasta dinner that night. 

This did not dampen my pasta making ambitions. 

Instead I decided that I should also try out drying the pasta I make so I can use it later. 

I found this recipe on Martha Stewart’s website to make the pasta:

http://www.marthastewart.com/314301/fresh-spinach-pasta-dough

However I don’t have a pasta dough press so I got to roll it out the old fashioned way, however, one of those machines will be going on my Christmas list.

First I took the dough out of my food processor, rolled it into a ball, and sprinkled some extra flour over it.

Image


Next time I do this I will half or quarter the dough before I roll it out.  The whole thing got to be a little much to deal with. 

Image

Keep rolling and rolling from the center out and occasionally turn the dough over to the other side until it’s as thin as you can make it.  The dough does care because pasta dough is very dry.  If it does I just used a bit of water, put it on the area I wished to fix, and then use my fingers to patch the tear. 

Once it’s all nice and rolled out, since I don’t have a fancy pasta maker, I used a pizza cutter (make sure it’s a plastic one or it will tear up your counter tops) to cut the noodles.

Image

I’m right handed so I went from left to right so I could see what I was cutting. 

Now, for the drying…  though I don’t have a pasta machine I do have a food dehydrator.  I laid the noodles in little nests on the trays of the dehydrator.  This makes them a little easier to store once they’re dried. 

Image


I let the dehydrator run at about 135 for about five hours. 


Once they are totally dried I put them in some gladware containers and stuck them in the cabinet.  They should be good for a month or so stored like this.  Image


Jewlery Shelf

I told you before I was on a mini, domestic diva, quest to make my home more “homey”.  This mission has take itself to what I call “my room”.  Now, I don’t mean the master bedroom my husband and I share.  No, no.  My room is the room where I have all my sewing and craft stuff, my closet of clothes, and my dresser. 

Now, the dresser is where my problem was.  I have this beautiful dresser made of black walnut that my Father-in-Law made me. 

However, I had absolutely no sense of purpose or organization with anything that went on top of it.  It was a mass of jewelry, lotion, pens, and pictures. 

ImageImageImage


It’s pretty clear that this wont due. The dresser top is a mess. You can’t find anything.  My jewelry is a tangled mess.  A change is in order. 


I came up with this on a trip to Michael’s.  I found a shelf there, about as wide as my dresser, and it was on clearance.

I brought that baby home and spent about two days getting a nice coat of spray paint on it.  After it was all dry I got some small screw hooks from Lowes and screwed them into the bottom of the shelf.  My plan was to hang my necklaces from it once it was up.  

ImageImage


Next step is it get it on the wall.  To do this I used the same trick I showed you on a previous blog where I hung shelves.

Take a piece of painter’s tape long enough to go over both the holes on the back of the shelf.

Image


Then, punch holes over the points where you’ll be hanging the shelf on the wall.

Image


After you’ve done this you’re going to put the piece of tape on the wall.  To make sure you hang it straight you should get yourself a laser level.  This little thing is about $12 and totally worth it.  Enables you to draw nice, straight lines for hanging shelves, pictures, paiting stripes, etc.

Image


I drew small “x’s” all along really close to the laser line so I knew where to hang the tape.

Image


Once you have your line marked you can hang the tape. 

Image


This method is SO great and I use it all the time.  It really enables you to know exactly where to drill and eliminates all those extra nails holes that happen after lots of guess work.


To make sure the shelf is hung securely on the wall I got some screw and drywall mollies (also at Lowes).  First you drill a small hole (smaller than the diameter of the molly so it doesn’t wiggle) and then pound the molly into the hole.  Then you drill the screw into the molly.  Don’t drill the screw flush with the wall because you need to hang the shelf on it.

Image


Once the shelf was on the wall I did some organizing…. hung necklaces, put up some frame, lovingly arranged knick-knacks, and viola!  A beautiful new focal point that is really functional and makes it super easy to view and access all your accessories!

ImageImageImage


(had to frame the note from the hubby he left for me and has been sitting on my dresser ever since.)ImageImageImage

Lemon-Parmesan Cauliflower

Not unlike most people, yourself, I’m sure, included, I’m trying to eat healthy (or at least healthier…).  A very simple premise. How to go about accomplishing this is not.  In our paleo, low fat, no artificial, organic, low carb, all natural kind of world it can be hard to navigate the waters of what we should and should not be putting in our mouths. 

One thing I do know…  veggies equal good. 

Vegetables.  The old standby for when we need to eat a little healthier.  Making those veggies taste good is the basis of this recipe.

First step is to cut a head of cauliflower into bite sized florets.  Now, it may look like you have a ton of cauliflower but it will shrink in the oven so more is less.  Cut up more cauliflower than you think you need. 

Next, you want to lightly cover the cauliflower in olive oil until evenly coated.

Image

On a side note…  to distribute this olive oil my Mom got me this drip-less olive oil dispenser from Pampered Chef.  It is the best!  It never drips so you don’t get that greasy, grimy, olive oil container.  I highly recommend this.

Image

After your cauliflower is properly coated add salt, pepper, and garlic.  (Usually I use real garlic, however, today I was out so I used the powder kind.  Either works just fine.)

How much of these seasonings you use depends on how much cauliflower you use and your affection for these spices. 

Toss the cauliflower with the spices until the pieces are all coated evenly. 

Image

After this you’ll be adding the lemon.  Here again, how much lemon you use depends on the quantity and your preference.  I used half a lemon.  The more citrus you use the sweeter it is, and to me, the more delicious.  However, this adds more moisture to the cauliflower so it adds to the cook time.

Here is another favorite kitchen gadget of mine… my citrus juicer.  When I got this I was sure I was hardly going to use it and that it was probably a pointless purchase.  However, this has been far from the case. I use this at least once a week.  I use a lot of lemons and limes in my  cooking as well as adding lemon to my homemade ice tea.  For only being about $14 this was a great investment that I hope you take advantage of as well.  This particular one is from Bed, Bath, & Beyond.

I juiced half a lemon over the cauliflower and tossed unit all the pieces were well coated. 

Image

Finally, we coat the cauliflower one last time with parmesan.  I love parmesan so I’m not shy with adding it.  If you have kids you’re trying to get to eat more veggies you may want to add more parmesan as well. 

Line a pan with tin foil and spread your delicious looking cauliflower across it.

Image

I always use Reynolds Wrap Non-Stick tin foil.  It costs a little more but it is so worth it!  It really doesn’t let anything stick to it and it has saved many a meal for me.

Image

Place cauliflower in the oven at 475 degrees for about 30-40 minutes or until it’s brown and crispy. 


ImageImage


Recipe:

Ingredients:

  • Cauliflower
  • Salt
  • Pepper
  • Garlic (real or powdered)
  • Lemon juice
  • Parmesean

Steps:

  1. Heat oven to 475 degrees.
  2. Cut cauliflower into bite sized pieces.
  3. Lightly coat in olive oil.
  4. Toss with salt, pepper and garlic.
  5. Juice lemon over the cauliflower (to taste).
  6. Evenly coat cauliflower with parmesan.
  7. Line pan with tin foil.
  8. Evenly spread cauliflower over pan.
  9. Bake in oven for 30-40 minuets or until cauliflower is brown and crispy.